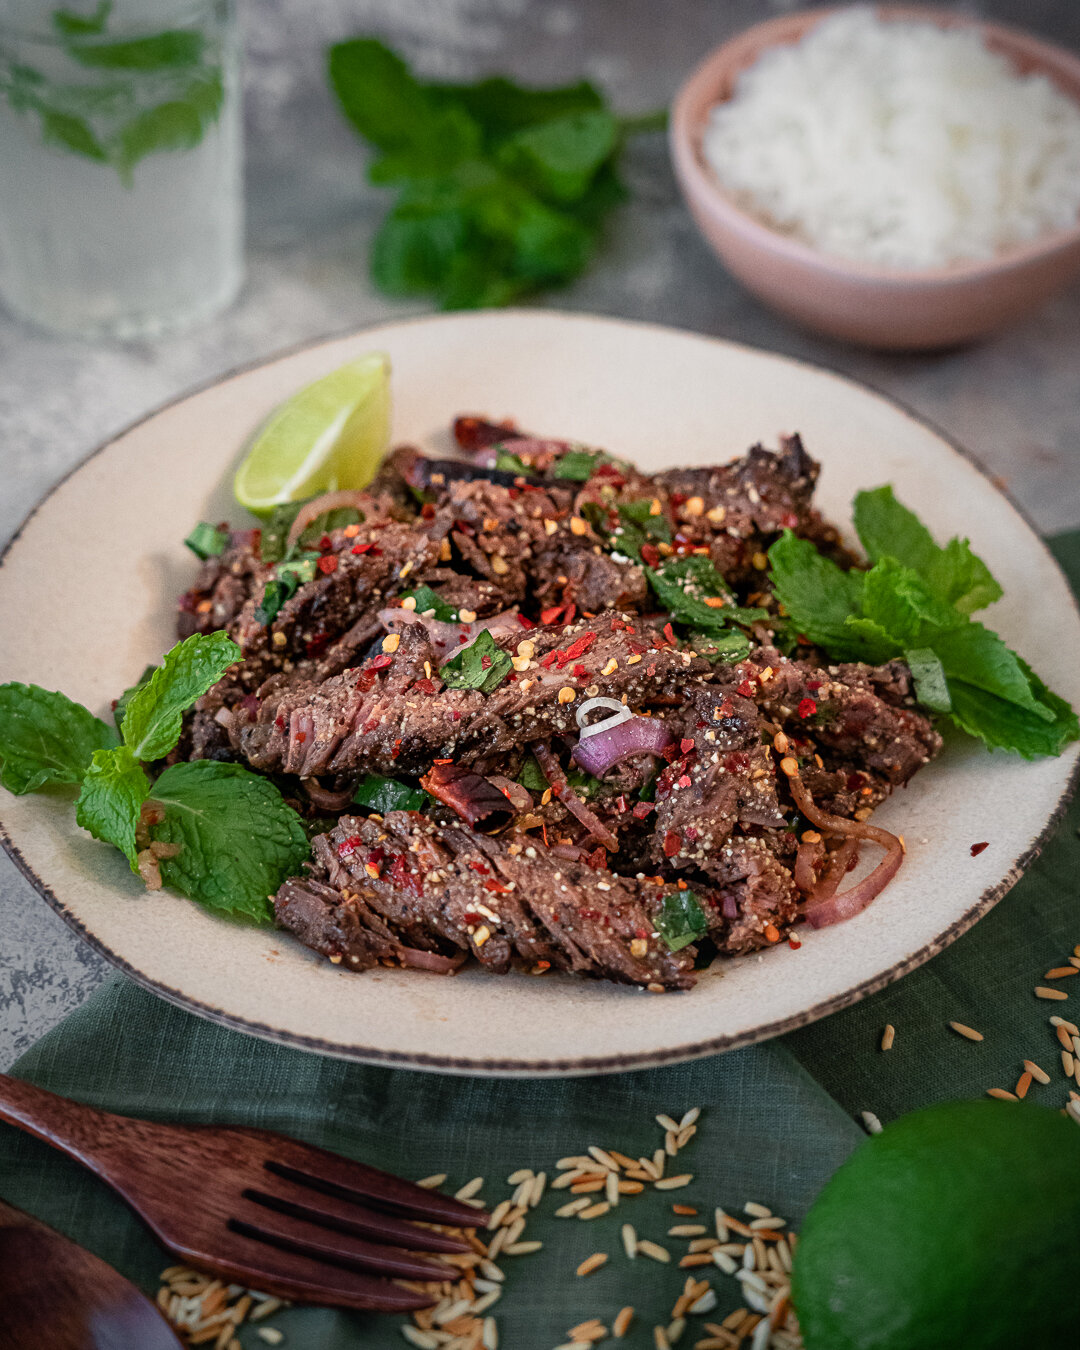
Green Curry Chicken

Known as Kaeng Khiao Wan Gai locally. The literal translation of Kaeng Khiao Wan Gai is “Sweet Green Curry with Chicken”. The reason it’s called “green” is due to the color of the dish, which traditionally comes from the variety of green chilies used in the curry paste.

History
Ancient Thai curries evolved from water-based dishes that used only fermented fish (pla ra) or fermented shrimp paste (kapi), along with shallots and garlic. Chili peppers first appeared in the 16th century, arriving from South America—via Europe and Africa—through Portuguese traders. With colonization, influence from Persian, Indian and Malay cuisines introduced the coconut and dried spices into curry making. The use of fresh green chilies, dried cumin and coriander in both red and green curries (as well as many other Thai dishes) hints at an Indian influence.
Green curry is actually the youngest addition to the curry color spectrum and doesn’t appear in the historical record until between 1908-1926 where it showed up in a cookbook, being described as a method of cooking duck curry. The theory is that Indian culinary codes influenced the local aristocracy to try making green curry with fresh green chilies. Before that pungent agents such as white peppercorns, fingerroot, ginger and galangal were utilized to achieve spiciness. Then came along coconut which began to appear in savoury dishes after contact with Persian and Malay cooks. Coconuts have been growing in abundance in Thailand for millennia, but they were only used for desserts instead of cooking. The introduction of chilies and coconut are much more modern which Thais begin to gradually adapt to and in turn it modified their curry cooking techniques overtime.

My Favorite Curry
Years ago, my discovery of Thai food started with green curry, which was the first dish I tried. It was also the very first Thai dish I learned to make while I was still studying in school. I had a phase where I spent a lot of time researching the right Thai ingredients and my parents' pantry would be well stocked with fish sauce, curry pastes, and coconut milk because of me. Fast forward, my mom has also picked up the habit of cooking Thai curries now that I live in the opposite side of the continent.
The Green Color
In the very beginning, I would try to mimic the pastel green color you would see in most fusion and westernized “Thai” restaurants. I say that in quote because I discovered most of those restaurants were owned by either Vietnamese or Chinese immigrants or just good ol’ White people. I would be very frustrated when my green curry wouldn’t exactly be that pretty vivid green but rather turn more khaki green (like in the pictures here). Eventually I learned, what I was doing was actually correct, that khaki green is actually the true color of a traditional green curry and if you ever spot a vivid green like pastel, pistachio, mint or emerald, then most likely food coloring was involved…and it’s not cooked correctly aka definitely not authentic.
The Fat Separation
In the west, we love our creams and sauces to be emulsified, meaning the fat, oil, cream, herbs and spices are mixed to the point they cannot be distinguished individually. But in Thai cooking, it is more desirable and appetizing when you see coconut fat or oil floating on top of the curry. Beads of oil on the surface of a curry are a sign that what you are about to eat is an authentic version of Thai curry.
I feel like this is also true in practice for South Asian cooking, you should be able to see a pool of oil on top of the gravy for dishes like Beef Rezala, Butter Chicken or Lamb Rogan Josh. Now, in order to achieve that layer of glistening coconut fat on top, it is important you use fresh or boxed coconut milk and coconut cream. The fat and liquid in canned coconut milk or cream do not separate as easily and you need the right kind of coconut fat to properly fry the curry paste that will maximize its natural flavor.
The Taste
Green curry is meant to be very spicy! Do not be fooled by the Thai word wan as in sweet in it’s name. The meaning of sweet in this case does not refer to actual sweetness, but rather a “soft-sweet” which refers to a more mild, pleasant and mellow heat compared to a more fiery hot dish like the red curry. This “sweetness” is pleasing to the Western palate, making green curry a favorite Thai dish among foreigners. The truth is the authentic flavor profile of green curry is actually not so different from the fiery hot red curry, but it is definitely more pungent than the milder curries like massaman or panang. Green curry should be more salty and pungent with a subtle hint of sweetness coming from the coconut cream.

The Curry Paste
Green curry paste is traditionally made by pounding in a mortar—green chillies, shallots, garlic, galangal, lemongrass, kaffir lime peel, coriander roots, cumin seeds, white peppercorns, shrimp paste and salt. For a more robust green curry, fingerroot/wild ginger, white turmeric and holy basil can also be used. When cooking authentic green curry, one should use only green or whitish vegetables, and restrict garnishes to green chilies, hair-thin julienned kaffir lime leaves or Thai sweet basil (horapa). The same goes for the vegetable in the curry itself, they should also remain green or white such as apple eggplants, pea eggplants, bamboo shoots and young coconut meat.
When it comes to authentic and traditional Thai curry pastes, it is extremely important you use all of the fresh herbs and spices necessary. Ingredients such as shrimp paste, galangal, cilantro roots, lemongrass and kaffir limes are essential to proper Thai curries. If you are lucky enough to find all of the required fresh ingredients, go ahead and make your curry pastes from scratch. Of course the quality and taste of the curry is elevated with fresher, more fragrant and authentic ingredients.
Why you should use commercial grade curry pastes.
If you cannot acquire the right ingredients, instead of using inappropriate substitutes, you are better off using commercial grade curry pastes. Please don’t commit blasphemy by substituting ginger for galangal or lime juice for lemongrass. They are not the same ingredients and definitely not substitutes. Nope! Although this is more acceptable, even something as minor as cilantro stems instead of cilantro roots can make a huge difference. I have seen and read way too many distorted and whitewashed versions of Thai curry pastes and it is just as insufferable reading it as it would be eating it. If you happen to live where the ingredients aren’t readily available, I highly recommend using store bought curry pastes.
I have done quite a bit of research and spoke to several people from the Thai diaspora who also use store bought pastes as do most of the Thai restaurants. Apparently, this is also the same case in most major cities in Thailand among people of our generation who work 9 to 5, live in small apartments and do not have the time, space and energy to make curry paste from scratch. That being said, keep in mind most commercial grade curry pastes have a high level of salt and preservatives. That means the more curry paste you add, the more salt you will be adding. So if you are using store bought paste, tone down the amount of fish sauce you use at first and make sure to taste test and adjust the salt.
Why do I and most native Thais suggest buying instead of making curry paste.
It’s important to be consistent but hard to do so without a reference point when a particular cuisine has very distinct and unique flavors. If you are not familiar with Thai cuisine or didn't grow up eating it, using pre-made curry pastes will help you get acquainted with the actual seasonings and flavors. There is absolutely no stigma involved in buying curry pastes, it is a more sound decision when the alternate routes will result in something far from traditional and quite offensive. Still don’t believe me? Here are several culinary authors, chefs and home cooks of Thai origin warning you not to make knock-off curry pastes with mediocre and wrong ingredients.
In the beginning, I used store bought curry pastes and even now my pantry is well-stocked with four to five different curry pastes. On a typical weeknight, I do reach out for them which easily cuts down my prep time in half. I reserve making curry paste for special occasions or when I have a lot of time and energy. After spending over a decade, cooking Thai curries at home, I am confident enough to make my own curry paste from scratch which I will share with you today. I will also share my favorite commercial grade curry pastes. Trust me when I say, there are lots of different brands and not all of them are good. Whew! That was a lot of explaining. Are you ready for the recipe?

Recipe: Kaeng Khiao Wan Gai
Serves: 4-6
This is a multiple-part recipe. First I will teach you how to buy the right curry paste. If you are not up for it and think you can source all the correct ingredients and make your own, then you have my recipe as well. And finally, how to make a proper Thai Green Curry, none of those watered down mint green bullsh*t you find on Pinterest made by some Karen or Becky in Oklahoma or something.
Buying the Curry Paste
These are my top three favorite green curry pastes in order.
Mae Anong and Maesri has more smooth and round flavors with Mae Anong being slightly more robust and rich compared to Maesri. They are also both vegetarian from what I have gathered, so no shrimp paste but always double check the ingredient list. Mae Ploy does have a nice heat and depth of green curry flavor but it is a little bit more salty so be mindful about adding extra fish sauce.
A word of caution - Do not buy the “Thai Kitchen” brand of curry pastes. It’s actually pretty bad. Thai Kitchen is a very Americanized brand, and overpriced because it usually has a captive audience (Americans who need fish sauce for one meal, are at their local grocery store, and will buy whatever's in front of them). Avoid it.
If you want to try making other Thai curries along with green curry, there are also pretty awesome curry paste sets you can buy online. Here is a list of the good ones.
Maesri Green, Red and Yellow Curry Paste Set - Pack of 6
Maesri Green, Red, Masaman and Panang Curry Paste Set - Pack of 8
For this recipe, you will need 1/3 cup curry pastes. That is about 2.5 oz or 5 tbsp roughly.

Making the Curry Paste
If you are not making your own curry paste from scratch, keep scrolling to “cooking the curry” section. Otherwise, here is my tried and tested green curry paste recipe. Grab your mortar and pestle!
Cumin Seeds - 2 tsp, roasted
Coriander Seeds - 2 tsp, roasted
Whole White Peppercorns - 10-15
Salt - 1 tsp
Lemongrass - ⅛ cup, thinly sliced, bottom only
Galangal - 1 tbsp, peeled and finely chopped
Cilantro Roots - 2 tsp, finely chopped (check note)
Asian Shallots - 2, finely chopped
Garlic - 2-3 cloves, finely chopped
Green Thai Chilis - 10-15 (check note)
Makrut Lime Zest - 2 tsp (check note)
Thai Basil (Horapa) - 5-10 leaves, julienned (optional - check note )
Shrimp Paste - 1 tbsp
Ingredients and substitutes:
Cilantro Roots - If you can’t find them, it is okay to use cilantro stems.
Makrut Lime Zest - If you can’t find makrut lime, do not substitute for regular lime. They are very different in terms of flavor. Instead, add more makrut lime leaves in your curry when you are cooking to bring in the distinct citrusy—floral note. The leaves can also be added during the curry paste making process, be sure to discard the hard stem in the middle by cutting or slicing the leaf around it.
Green Thai Chilis - How spicy you like your curry is entirely up to you. I recommend starting off with 10 chilis, make sure to remove the seeds and pith, then adjust and add more according to your preference. My tolerance for spicy food is really high so I put all 15 chilis, including the seeds in the paste and then a handful more during cooking.
Thai Basil - this is optional. Adding the basil leaves will make your curry paste more green and give more flavor but during the cooking process, the leaves will oxidize, resulting in a more brown-green gravy than emerald green gravy, nothing wrong with either color. Traditionally, green curry actually is more khaki green than the vivid green. If you can’t find them, do not use Italian basil in a Thai curry. It’s better to just skip this ingredient,
Alright time to make the curry paste. Roast the cumin and coriander seeds in a dry skillet, stirring and tossing frequently over medium heat, until they begin to smell toasty and fragrant. Transfer to a bowl and allow them to cool down. In a mortar and pestle, grind the dry spices: cumin seeds, coriander seeds and white peppercorn into a fine powder. Remove and set aside.
I like to add the ingredients in order of harder and drier to softer and wetter ingredients. This is my order one by one—lemongrass, galangal, cilantro roots (or stems), shallots, garlic, green chilis, makrut lime zest (or leaves) and finally Thai basil (optional). You may add a pinch of salt here and there to act as an abrasive as you are pounding the ingredients. Make sure to occasionally stop to scrape down the sides of the mortar until you have a smooth, slightly fibrous paste. Now add the shrimp paste and the ground dry spices to the mix and pound into a fine paste. Lol, I suppose that will be the arm workout for the day.
Note: If you don’t have a mortar and pestle. You can use a food processor, immersion blender or a regular blender. The only issue is most of these devices do not blend thick paste well enough (except for the food processor). If you are planning on cooking the green curry right away, add a tbsp or more coconut milk in the mix to whichever device you are using, a little bit of liquid will help blend all the ingredients into a smooth paste. Also keep in mind, dry spices like the cumin seeds, coriander seeds and white peppercorn will need to be grinded separately in a spice grinder or a coffee grinder, then added to the paste as you are blending.

Cooking the Curry
Coconut Milk - 2 cups, fresh or in a box
Coconut Cream - ½ cup
Vegetable Oil - 1 tbsp, (optional - only if necessary)
Combine 1/4 cup coconut milk and all of the coconut cream. Pour this mix into a medium pot or wok over high heat. Bring it to a boil, stirring often, then reduce the heat to maintain a steady simmer. Continue cooking and stirring the milk occasionally, until it is reduced in half and looks split - the fat and the oil separating. This should take about 5 to 10 minutes.
This is an important step to making a good curry. You are cooking off the water in the coconut milk/cream so you are left with white solids and oil, in which you will be frying the curry paste. Now, if for some reason even after 10 minutes, the milk hasn’t curdled, you are allowed to cheat and add 1 tbsp vegetable oil to help it along the way.
Green Curry Paste - all of it. If you are using store bought about ⅓ cup
Decrease the heat to medium-low, add the curry paste and stir well. Cook, stirring frequently until you no longer smell the raw garlic and shallots and the curry paste has turned a couple shades darker, and you can no longer distinguish the coconut cream from the curry paste. This should also take another 10 minutes. If you want a great tasting curry, patience is of utmost importance.
Chicken Stock - 1 cup, warmed
Chicken Thighs - 1 lbs, boneless cut into 1-2 inch pieces. You can also use bone-in chicken.
Makrut Lime Leaves - destemmed and bruised to release the aroma
Once the paste is fully cooked and darkened in color, increase the heat to medium and add the chicken pieces. Combine it well with the curry paste and allow some time for the chicken to change color, about 3-4 minutes. Add the rest of the coconut milk, chicken stock, and makrut lime leaves. Stir well and bring the mix to a simmer, don’t let it boil. About 5 minutes.
Palm Sugar - 3 tbsp
Fish Sauce - 2-3 tbsp
Green Thai Chilies -3-5 (optional)
Add the 2 tbsp palm sugar and 2 tbsp of fish sauce. Reserve the remaining 1 tsp of each for later, if it needs more salt or sugar. Taste the gravy. If it’s not spicy enough, add 3-5 green chilies whole or sliced in half, if you like more spicy.
Thai Apple Eggplants - 10-12, cut in half
Add the eggplants, combine well. Continue simmering until the eggplants are tender - if you like the eggplants crunchy, it should take about 5 minutes. I like my eggplants more soft and tender which takes about 8 to 10 minutes.
Note: If you can’t find the green Thai apple eggplants, regular Chinese eggplants (the long purple ones) will do, just keep in mind their cooking time is a lot less—about 5 minutes.
Thai Basil - 5-8 leaves
Red Spur Chilies - 1, julienned for garnish. Red bell pepper will also work too
Add the Thai basil leaves. Again if you can’t find Thai basil leaves, don’t substitute for any other type of basil, just leave this step out.
Do one final taste test for additional fish sauce and/or palm sugar, if it requires either or both, add the reserved 1 tbsp of the fish sauce and/or palm sugar. Stir well and turn off the heat. Cover the pot and let the curry sit for 10 minutes before serving.
If you are not serving right away, remove the basil leaves after 10 minutes. If you see green fatty oil rise to the surface after 10 minutes, fret not, this is a good thing, it’s a sign that you cooked your green curry correctly. Some people like to cook this one day ahead. I’ve also personally noticed Thai curries taste even better the next day.
And that’s it! Green curry with chicken is ready to be served. Garnish it with additional Thai basil leaves and slices of spur chilies or red bell pepper. Serve it with jasmine rice.

If you do recreate our recipe, be sure to
TAG & FOLLOW @TheSpiceOdyssey
Stay up to date with us on Instagram, Pinterest, Youtube and Facebook.