Red Velvet Pancakes

Happy Canada Day, Eh!
You can take the Canadian out of Canada, but you can’t take Canada out of her.
One of my fondest memories of living in Canada is Sunday brunch with my best friends where red velvet pancakes were always a must. Delicate and fluffy red velvet pancakes finished with a cream cheese glaze to mimic red velvet cake, and of course a side of maple syrup. It’s festive and it’s perfect for celebrating Canada’s birthday. Not to mention it gives you an excuse to eat cake for breakfast, not that we need one.
In these uncertain, unprecedented times, I am grateful to call myself a Canadian. Canada embodies open-mindedness, inclusiveness, the respect of diversity and cultural traditions, freedom of expression and equal opportunities. We may not be perfect but we do have universal healthcare. #WeTheNorth Happy Birthday, Canada!

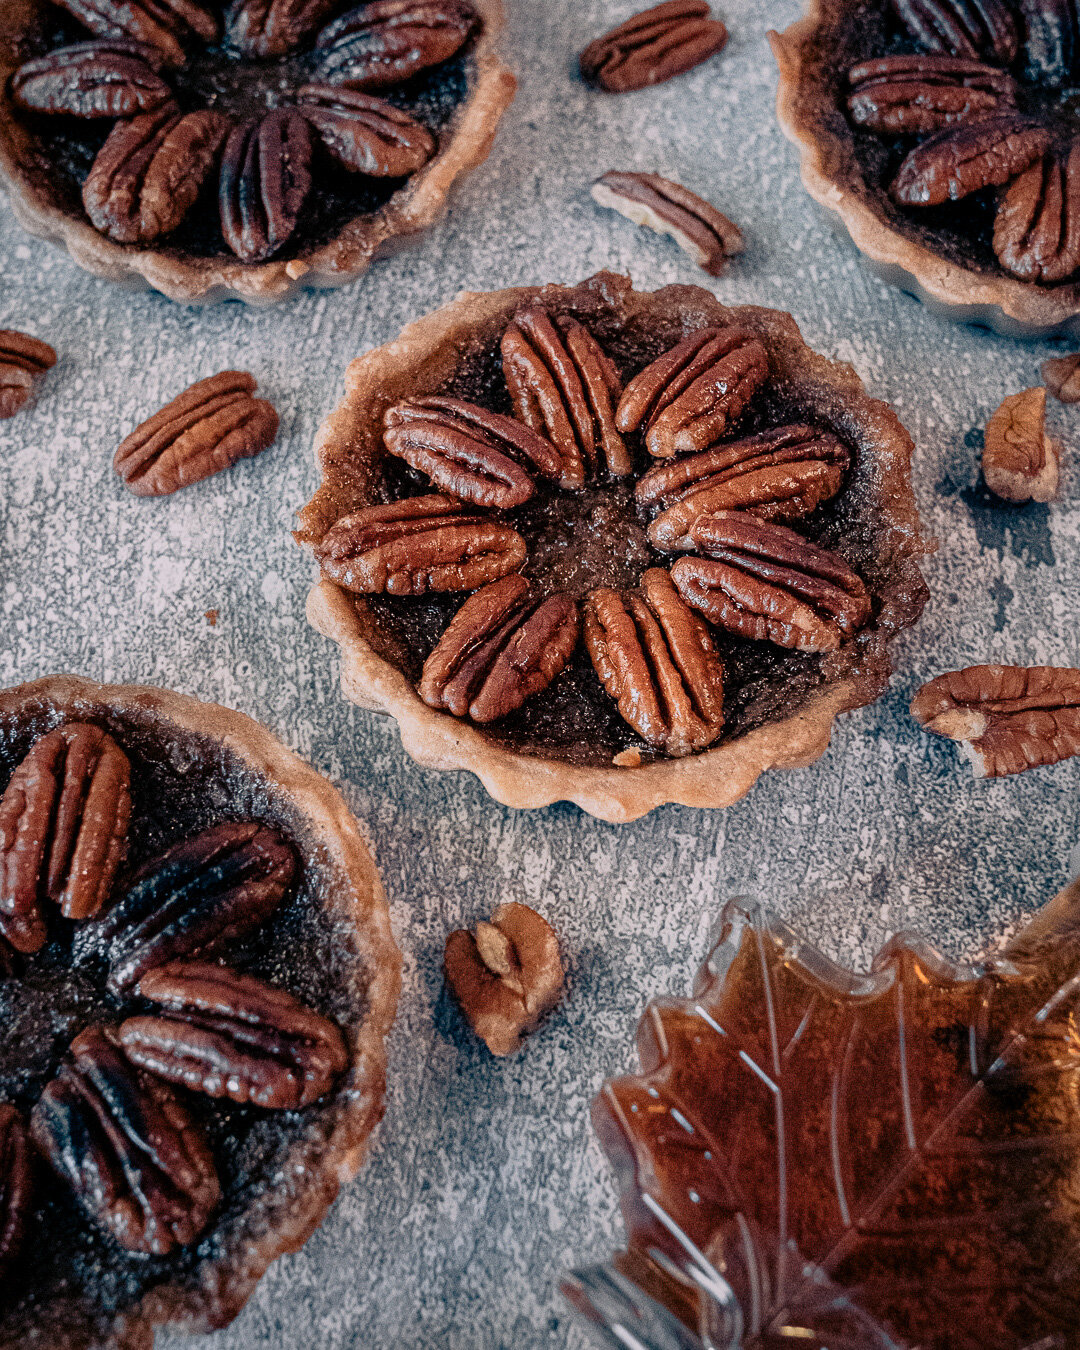
Canada’s Relationship with Red Velvet
In Canada, the red velvet cake was a well-known dessert in the restaurants and bakeries of the Eaton’s department store chain in the 1940s and 1950s. Promoted as an exclusive Eaton's recipe, with employees who knew the recipe sworn to silence, many mistakenly believed the cake was the invention of the department store matriarch, Lady Eaton.
The Oldest Pancakes Ever Recorded
Pancakes have been around for centuries as a favorite staple in many cultures’ diets. It can be traced all the way back to 30,000 years ago during the Stone Age. Researchers have found pancakes in the stomach of Otzi the Iceman, human remains dating back 5,300 years.
Now it’s time for some recipe. I promise it’s super simple and incredibly easy to make.


Recipe: Red Velvet Pancakes
Serves: 3-4
Mixing the Batter
Dry Ingredients
AP Flour - 1 cup
Cocoa Powder - 1 and 1/2 tbsp
Baking Powder - 1 tsp
Baking Soda - 1/4 tsp
Salt - 1/4 tsp
Wet Ingredients
Buttermilk - 1 cup
Egg - 1 large
Sugar - 1/4 cup
Vanilla extract - 1 tsp
Melted Butter - 1/4 cup
Red Food Coloring - 2-3 tsp
In a large mixing bowl, sift the flour. cocoa powder, baking powder, baking soda, and salt through a strainer. Set aside.
In a separate mixing bowl, whisk sugar and eggs. Pour buttermilk, vanilla, melted butter and red food coloring. Whisk mixture until well combined.
Note: If you don’t have buttermilk, combine 1 cup milk with 1 tbsp vinegar, and let it rest in room temperature for 5 minutes. The milk will curdle and turn into buttermilk.
Slowly add the wet ingredients into the bowl of dry ingredients. Gently fold the batter using a spatula, do not whisk the batter. Over-mixing can cause chewy and rubbery pancakes.
Cover the pancake batter and let it chill and rest in the fridge for 30 minutes.
Note: The resting process help the batter rise better and your pancakes are much more likely to come out light and fluffy. It allows time for the flour to hydrate - the milk softens the flour and dissolve any remaining lumps. It allows the gluten in the flour to relax and the starch grains to swell making the pancakes tender. Finally, all the leavening agents such as baking powder, baking soda and whipped egg has time to evenly distribute giving the batter a lift and puffing up the pancake as they cook so they are more fluffy.
Making the Cream Cheese Glaze
Cream Cheese - 4 oz, softened
Butter - 4 tbsp, softened
Powdered Sugar - 3/4 cup
Vanilla Extract - 1/2 teaspoon
Pinch of salt
Milk - 1/4 cup
In a mixing bowl, using an electric hand mixer set on medium speed, blend together cream cheese and butter until everything is dissolved and fluffy, about 2 minutes. Add in remaining ingredients and mix about 1 minute until well combined. You may add more milk 1 tbsp at a time to get a thinner and pour-able consistency.
Cooking the Pancake
Heat a non-stick skillet in medium low heat. Brush the pan with oil or butter. Pour 1/4 cup batter and spread out with the back of a spoon so the pancake isn’t too thick in the center. Cover the pancake with a clear lid. Cook until small bubble begin to form on the top surface, about 1-2 minutes. Flip and cook the pancake for another 1-2 minutes. Cook pancakes one at a time.
Note: I like to steam my pancake with the lid covered in low heat so the bottom doesn’t burn. Given this is a red velvet pancake, you want to maintain the red color, if you don’t keep a close eye, the pancake can overcook and turn brown. The goal is a nice, velvety red finish.
Serve it warm with a side of cream cheese glaze and maple syrup. You can also get fancy and garnish it with powdered sugar and fresh raspberries like I have.
That’s it! How easy is that? It’s a straightforward recipe and fun to make with your kids, family and friends. I want to see you all make it at home. And if you do recreate it, make sure to tag me @thespiceodyssey on Instagram and/or Facebook.